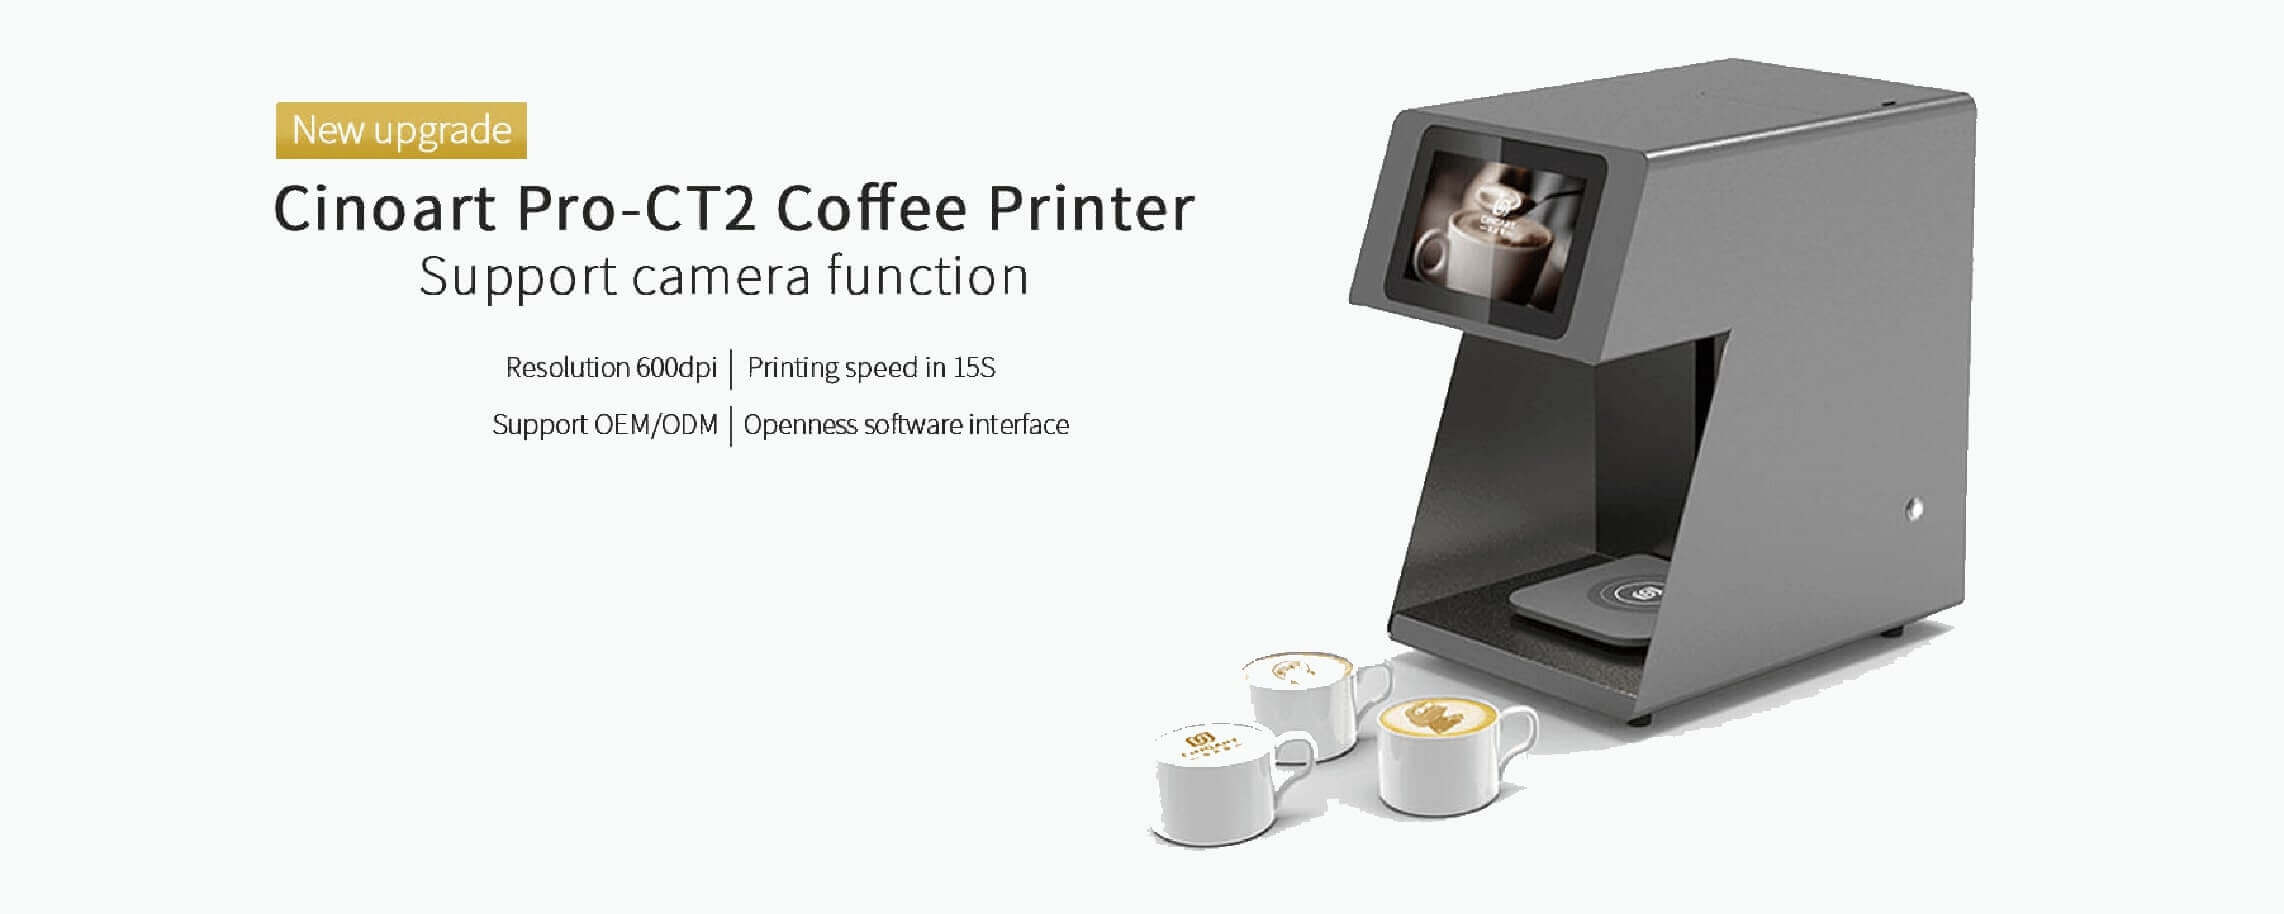
How Does CINOART Coffee Printer Work Exactly?
Quick Start
Normally, You just need 3 Steps to use CINOART Coffee Printer to make your customized drinks .
(**Note: make sure the foam-top is flat before you printing**)
Step 1
Scan QR-Code to upload
Scan the qrcode in setting page of coffee printer or posted on the coffee printer. And then you will get a website, access to it and select picture you want to print from your cellphone, upload it.
Step 2
Place Beverage on the CINOART tray
Prepare your drinks(coffee, beer) or other food like ice cream, cake, bread, make sure the surface is flat and put it on the tray of coffee printer.
Step 3
Select & Print Image via tablet
Select the design you uploaded on the tablet(screen) of coffee printer, and click start button, in 10 seconds it could completed personalized drink, delight your customers!
If you are purchase a new cinoart coffee printer, you can read the step-by-step tutorial below:
Step-By-Step Tutorial
(**Note: make sure the foam-top is flat before you printing**)
Check the packing list
When you open the box, please remove the buffer foam, check the unpacking items include: print machine body, ink cartridge, power supply, coaster, and small tools for maintaining the cartridge.
| CINOART COFFEE PRINTER PACKING LIST | |||||
|---|---|---|---|---|---|
| No. | Name | Item No. | Quantity | Photo | Description |
| 1 | CINOART Coffee Printer | CINOART PRO-CT2 | 1 |  |
Resolution: 600dpi |
| 2 | Cartridge | CINOART PRO-A1 | 1 |  |
Resolution: 600dpi |
| 3 | Adapter | CINOART PRO-P1 | 1 |  |
Input: 110V~220V AC Output: 12V Current: 5A DC |
| 4 | Coaster | CINOART PRO-C1 | 1 |  |
Put it in the center of the tray of cinoart coffee printer |
Prepare for power-on cinoart coffee printer
Before connecting the power, please make sure the machine is placed on a flat table and avoid high temperature and humidity when it working.
Please remove the screw in the back of the coffee printer, open the lid on the top of the machine, put the screw into storage hole for next use.
Because the machine has the same working principle as a 3D printer. We install the screw to fastening some moving parts in the machine to avoid damage during transit. So, if you need to transport the machine, please take out the screw from that storage hole and install it again.
Place the coaster in the center of the tray and then power on.
WIFI connection
When we finished the pre-preparation and power on, the first we should do is to connect wifi. First of all, we can touch the ”wifi logo” on the upper right corner of the tablet, then we enter the wifi interface, choose the wifi we need to connect, input the password in the pop-ups and confirm. We back to the main interface, wait a few seconds, the “wifi sign” will be updated to connect.
Install the cartridge and active it
Take out a cartridge and remove the blue seal at the bottom of it. Go to the setting page, click the “change capsule(cartridge)” button and input the unique number of the cartridge on its side to activate it. and then install it into the machine.
Save and Remove The Image
In order to protect user privacy, cinoart coffee printer will not save the pictures you upload automatically. If you want to reuse one picture, such as a corporate logo or cartoon photos, you can long press the picture until a lock sign appears on the upper-left corner of the picture. That means the picture has been stored on the tablet. If you want to delete the photo, you can click the image and go to the next interface to delete it.
Now, you can refer the Quick Start to use cinoart coffee printer to make your unique beverage.
More Instructions of CINOART Coffee Printer
Function: Print Mode
You can set the printing mode: fast, medium, slow. The slow speed it is, the more clarity it has. You would adjust according to your actual demands.
Function: Set The Appropriate Cup Size
Set the ideal cup size according to your actual needs, there are three options for you: small, middle, big. You would input the value of the actual cup diameter for small, middle, big cup separately. But we suggested that the input value is 5mm less than the actual cup diameter to make sure the printed image is included in your cup circle.
Function: Adjust The Central Position
If you find the photo is not in the center of cup, you can adjust the center position. Before your formal print, use a piece of napkin as a trail. If the image is not in your cup central position, then you need to do the operation to adjust. First, go the setting page, touch “set central location” option, then navigate to the setting panel, we can adjust the print central position by changing the X-axis and Y-axis. We need to input the adjusted data separately for X-axis and Y-axis. The adjust principle is below:
| X>0, Move Right; | X<0, Move Left. |
| Y>0, Move Forward; | Y<0, Move Backward. |
Note: Don’t move the cup/napkin during the whole process to ensure the accuracy of the adjustment.
Function: Change Server
CINOART Coffee Printer has two server, one is for the main land of China, one is for oversea market. The speed is different according to where you use CINOART Coffee Printer. If you are out of China(mainland of China), you should change it to the oversea server, it much quicker to upload photo from your cellphone and download from the server to CINOART Coffee Printer.
How to change the Server?
Go the wifi page, you will see on the left-center side, there is a drop-box, click there you will see EN and CN two choice, choose the one you wanted, and you will find the QRc0de is changed.
Function: Upload Image By U-Disk
If you have many photos and want to upload them. You can Scan the QRcode and upload one by one, of cause it would cost much time, there is a shot way that you can upload them by u-disk.
How to change the Server?
You will find there is a usb plug on the back of cinoart pro-ct2, so you can put the photo you in your u-disk in your computer, and them connect the usb-disk to cinoart pro-ct2. Then go to setting page, click “USB Input”, choose the folder of images, click any one photo, click “OK” button, all photo will copy to tablet.
Function: Change Language
If you want to change the language of tablet, you just need go to setting page, and click “Change Language” button, then choose the right one you wanted.
Function: Check The Usage Of Cartridge
After active the cartridge, you can use it about 1000 prints during 6 month. If you want to check how many time you have use the cartridge, and when you start to use it, there is a function for you to check the usage of cartridge.
Go to setting page, and click “Capsule State”, there is a pop window to show when you first time use the cartridge and how many time you print.
Function: Clean The Tray
If the bottom of tray needs clean, you can go to setting page on the tablet and click “Move Up” button, the tray would move up, so you can clean it.
Function: Wifi Speed Test
If you met that after you upload photo from cellphone, and the photo you uploaded didn’t appear on the screen of cinoart coffee printer, or it shows download failed, in this case, there are two possibilities:
- Confirm the server location. You can refer Change Server to check and change it.
- Wifi Speed.
How To Check Wifi Speed
There is a wifi speed test function in wifi page, you click the wifi logo on the main page, and then you will see “Speed Test” button on the top of wifi signal list. Click it go to the speed test page, if you don’t connect wifi, it will remind you to connect wifi first.
When you enter to speed test page, there is “START TEST” button on the bottom, click it, you will see the data of current speed and average speed is changing normally, if not, we suggest change the wifi or connect to the hotspot.
Function: Update Software
cinoart would issue new version from time to time, normally there should be a popup window to inform you there is a new version when you power on cinoart coffee printer.
You also can change check if there is new version manually in setting page by click “Update”. If there is a new version, you should click ok button and download it, and then it would be installed automatically.
